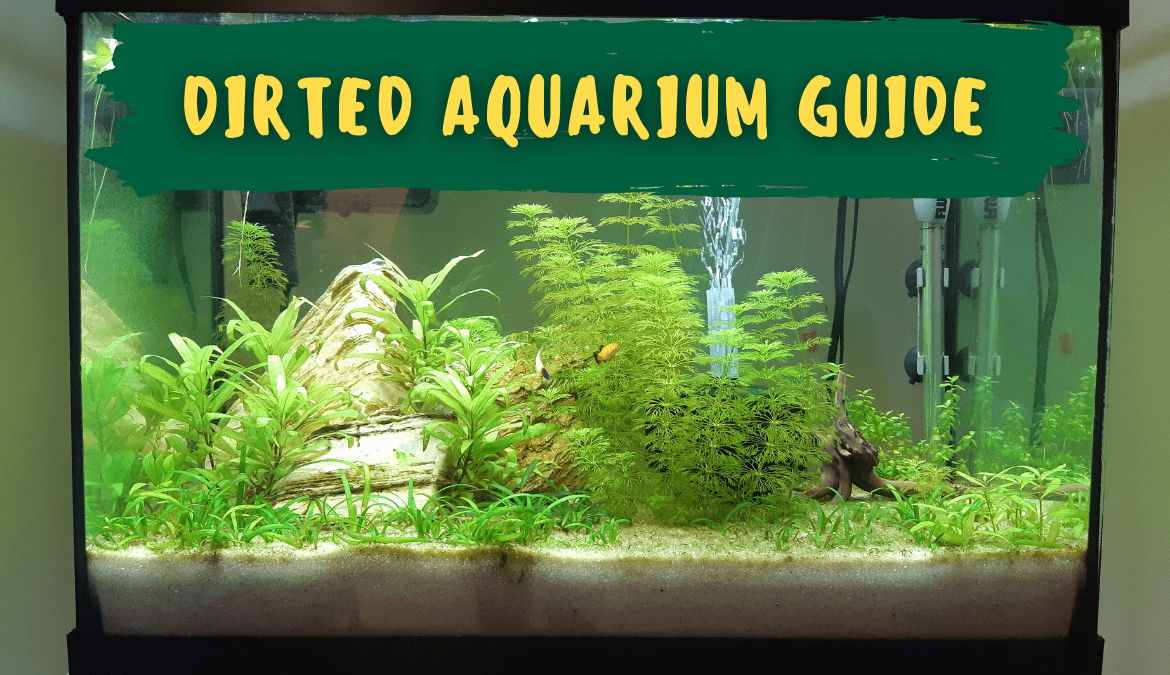
Dirt is quickly becoming a favorite among many fishkeepers because it’s inexpensive and allows plants to grow like crazy, even in low-tech and low fertilization environments.
This article is our comprehensive guide for setting up your first dirted tank.

Contents
What is a dirted aquarium?
Dirted tanks are aquariums that use ordinary dirt or garden soil as a substrate layer instead of commercially-designed aquasoils.
Why would you want a dirted aquarium?
Dirt is usually less expensive than most commercial aquasoils. It also contains a high concentration of macro and micronutrients that promote healthy plant growth. Some dirted tanks may last for several years at a time if they are setup correctly.
How is a dirted aquarium different from other aquariums?
Dirt substrate has a slightly different consistency that causes it to cloud an aquarium’s water more than ordinary substrates. It also leeches large amounts of ammonia which is harmful to fish and plants.
As a result, dirted tanks require an additional substrate to be layed on top. This is called a substrate cap.
Shopping list for a new dirted tank
The rest of this guide will go into details on exactly how we setup up our 20-gallon dirted tank. But here is a quick reference of all of the items you will need to get started:
- Tank (preferrably 16-inches or taller);
- Organic soil (1 inch);
- Soil additives (optional);
- Capping substrate (2 inches);
- Sponge filter;
- Air stone;
- Air line tubing;
- Air pump;
- Heater (rated for your tank volume);
- Lighting (medium intensity);
- Hardscape (optional to your preference);
- Plants (floating plants, low-light plants);
- Planting tongs/tweezers;
- 5-gallon bucket;
- Water conditioner; and
- Water parameter test kit.
Aquarium tank
Aquariums come in many shapes and sizes, most of which will be suitable for a dirted tank setup. But here are a few things that you may want to consider to make sure you have the best experience.
How big does a dirted tank need to be?
The tank volume doesn’t really matter too much. However, in our experience, larger tanks tend to be easier to manage and cause fewer problems. We recommend a 20-gallon, but a 10-gallon will work great as well!
Smaller tanks require more maintenance
A larger water volume will be able to accomodate a higher volume of ammonia and other waste until it poses a problem to your fish.
For example, if you have 5 fish and each of them produces 1 unit of waste. Then a 10-gallon tank would have a 5/10 (or 50%) concentration of waste. But if you have a 20-gallon tank then you will only have a 5/20 (or 25%) concentration of waste.
You will likely add more fish to a 20-gallon tank than a 10-gallon, but usually not in the same ratio. Therefore, you will usually have a lower overall waste concentration in larger tanks.
Largers tanks also have a more stable environment that prevents conditions from changing drastically.
We experience more problems with our 10-gallon compared to our 20-gallon
Both of our 10-gallon tanks had more algae problems and simply looked dirty more quickly. We’ve always had to perform a little extra maintenence for these smaller tanks.
This isn’t the end of the world but may be something for you to think about.
On the other hand, our 20-gallon setup has experience almost no problems and has remained very consistent since we set it up.
Taller tanks allow for a deeper substrate
We recommend considering a 16-inch tank or taller for dirted aquariums. The reason is because dirted tanks will have a slightly thicker substrate depth than ordinary tanks.
Most home aquariums are 12-inches tall
Most people getting into fishkeeping for the first time, as well as the average fishkeeping hobbyist, will have smaller-sized tanks. 5 or 10-gallon tanks tend to be the most popular size.
These tanks usually have a height of 12-inches.
2-inches is a common substrate depth
Most people will be recommended to have a substrate depth of about 2-inches for planted tanks if they’re using something other than dirt as a substrate. This means the average home aquarium will have aa 10-inch water column for the fish to swim around in.
This also means that a 10-gallon tank will have a total water volume of only 8.3-gallons due to the volume that the substrate takes up. Even less when you consider volume taken up by hardscape, internal filters and plants.
Dirted tanks require a 3-inch substrate
The dirted tank method we recommend involes a 1-inch layer of dirt capped with a 2-inch layer of sand or gravel. This means the total substrate depth is 3-inches.
This reduces the water volume to 7.5-gallons, which is starting to get a little small for many fish species. Also, you may find that it looks a little silly to have a quarter of your tank filled with substrate.
Therefore, a 16-inch tank depth or greater will allow for a larger water column and may look a bit nicer, depending on your personally preference.
Dirt substrate
The most important part of this tank setup is the dirt itself. There are a few important factors to consider.
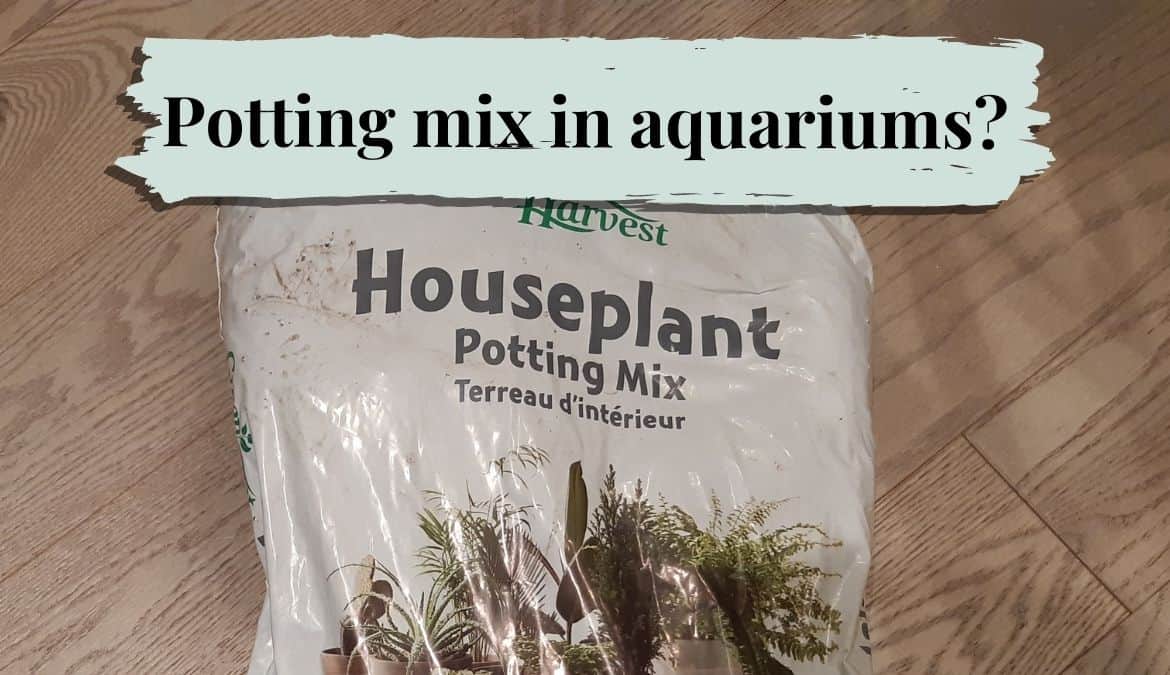
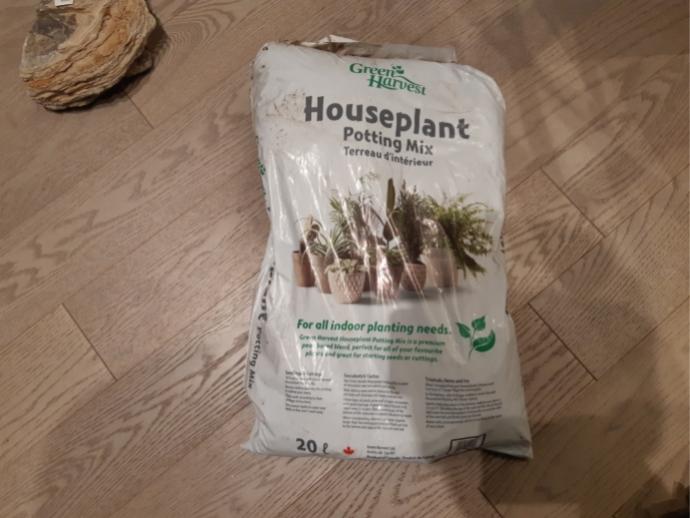
What soil should I buy for a dirted aquarium?
It’s important to buy organic soil because it does not contain fertilizers, pesticides, herbicides or other chemical agents that may harm your fish.
Organic topsoil is a great option. It’s the layer of dirt that covers the surface of the earth. It often contains decaying plant material, micro-organisms and other beneficial organic materials.
Organic potting soil or organic potting mix is a great option as well. Potting soil does not technically contain soil, but it does contain a mixture of other organic materials. Usually potting soil will have a base layer of peat moss, which will absorb and store a high concentration of nutrients that plant roots will take in.
Do I need to add anything to my soil?
You do not need to add anything to your soil because it normally contains many macro and micronutrients that your plants will need to thrive.
However, soil will contain varying amount of nutrients depending on where they were sourced from. Therefore, many fishkeepers choose to mix additives into their soil to make sure it contains adequate plant nutrition. This ensures the substrate will continue to provide nutrition for years to come.
We chose not to add anything except a few root tabs to our dirt. This is because we only intend on having this tank setup for a year.
With the root tabs, we simply cracked open 5 or 6 Aquarium Co-Op root tabs and sprinkled the contents across the top of our soil before adding the substrate capping layer.
Where can I buy soil?
The best place to find organic soil is at a local nursery – or any place that sells garden supplies, such as The Home Depot or Lowe’s. You likely won’t find organic soil at your local fish store because they typically only sell commercial substrates and aquasoils.
It was a little difficult to find organic substrate in Calgary, where we are based. We’re heard other people experience similar challenges in locating organic soil. We successfully found some at a nursery.
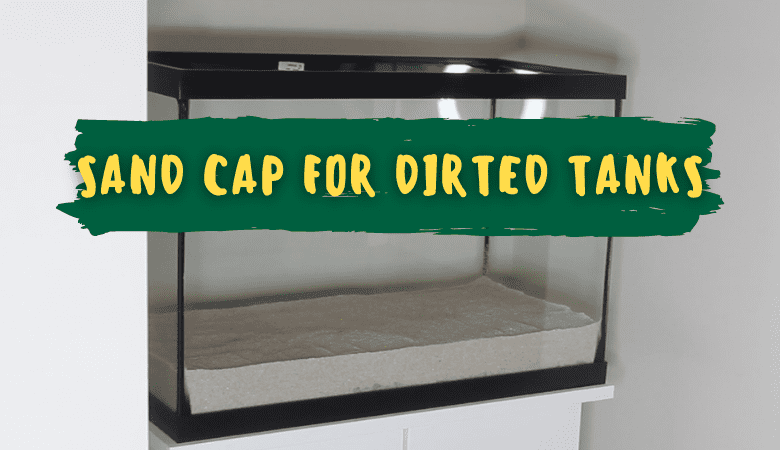
Capping substrate
What is a capping substrate and why do you need it?
Capping substrate is a layer of sand or gravel that you add on top of your soil layer. It’s purpose is to keep the dirt from leechign into the water column of your tank. This will prevent the water from getting cloudy and will minimize how much ammonia leeches in as well.
Which capping substrate should you choose?
We like to use sand because it comes in a larger variety of colors and we find it look snice. Also, it’s small particle size ensures a strong cap is in place to prevent leakage.
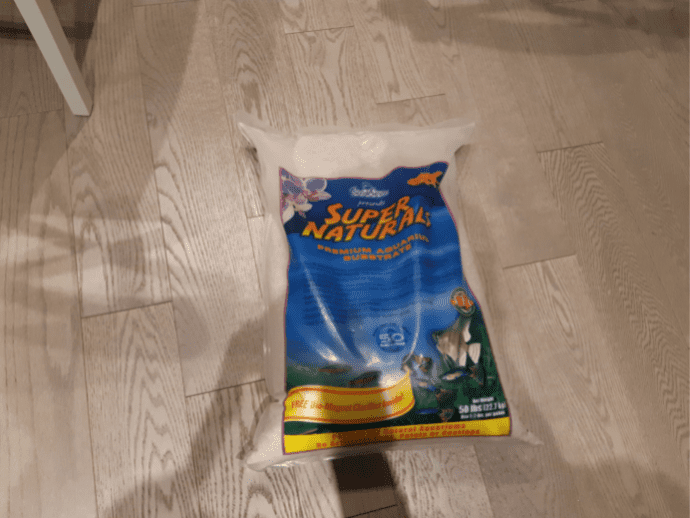
Many people have success using gravel as well. We recommend using a fairly fine gravel – about 3-5mm in diameter will work great. Too coarse and it may not work effectively as a cap.
Sponge filter
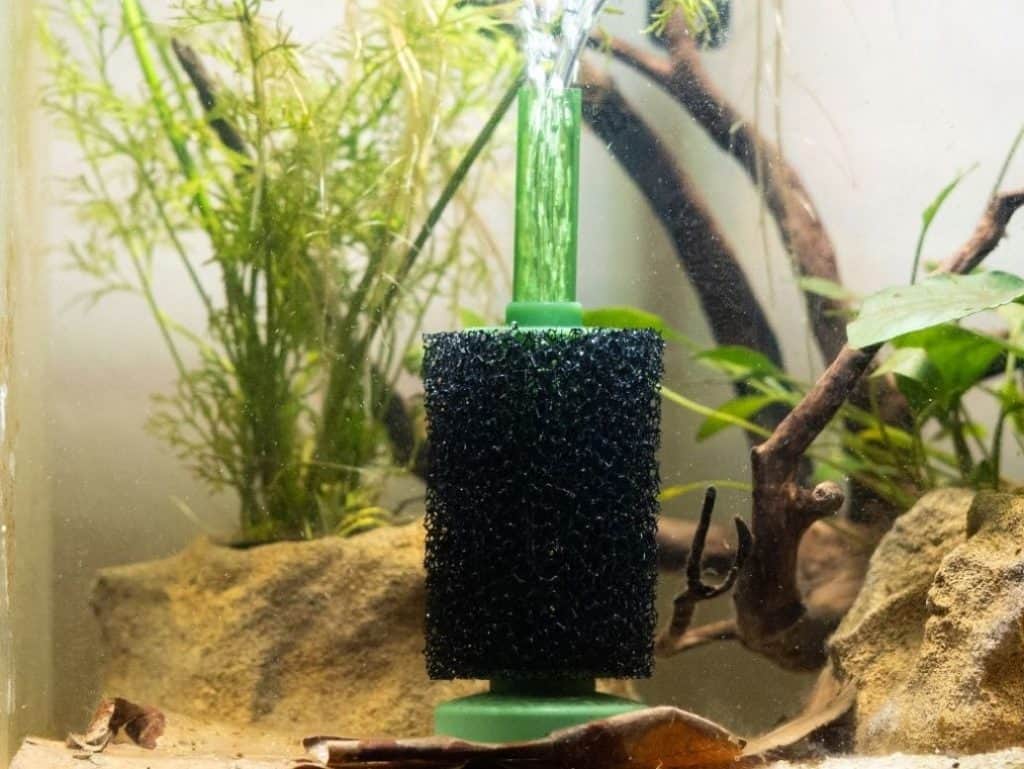
What is a sponge filter?
Sponge filters are a device that remove free-floating particles in your aquarium’s water column. They are an internal filtration system, which means they sit in the aquarium itself rather than hanging on the back or underneath your tank.
How does a sponge filter work?
Sponge filters work by sucking tank water from the outside of the sponge towards the center. As the water passes through the sponge, debris gets caught in the sponge.
This requires an air stone, an air pump and air line tubing. The air is pumped through air line tubing and through the air stone into the center of the sponge, creating small bubbles. These bubbles rise through the top ofthe sponge, which creates a force that sucks water into the sponge.
Why are sponge filters beneficial for dirted tanks?
Sponge filters are inexpensive, easy to use and provide adequate oxygenation to the water. They are not necessary for dirted tanks, but are a great and simple option.
Sponge filters add greater oxygenation than most hang-on-the-back and canister filters, which becomes important later on when anaerobic bacteria start to colonize.
Note: Anaerobic denitrifying bacteria reduce nitrate levels.
Which sponge filter should I buy?
Sponge filters come in a variety of sizes. Generally speaking, larger tanks would benefit from larger sponge filters because they can collect a higher concentration of debris before needing to be cleaned.
The size doesn’t really matter too much so we would recommend choosing one that you feel is not too large for your tank.
Air stone, air line tubing and air pump
These three items are required to operate your sponge filter.
What is an air stone?
Air stones are small stones that have a bunch of holes in them. They produce a bunch of tiny bubbles when air is forced through them.

Why are air stone beneficial for dirted tanks?
First of all, air stones are necesarry for operating a sponge filter. You don’t need a sponge filter to use an air stone, but you need an air stone to operate a sponge filter.
But air stones by themselves provide a very important benefit to aquariums. They increase the concentration of dissolved oxygen in the water. This is critical for fish to survive.
It also prevents harmful hydrogen sulfide from existing in the water column because the oxygen converts it into harmless sulfate.
What else is required to use an air stone?
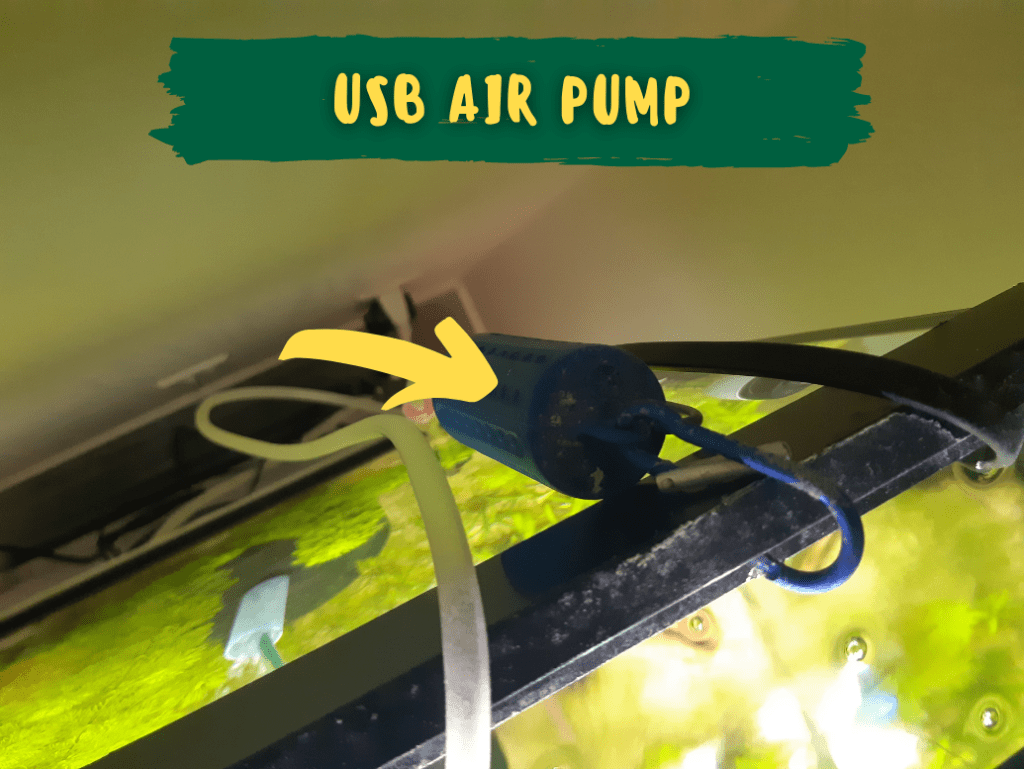
Air line tubing and an air pump are required to operate an air stone. The pump is plugged into your wall and will simply push out air. The tubing connects the pump and air stone together, which directs the air out through the air stone to create bubbles.
We like using these mini micro USB air pumps because they are inexpensive and can be operated using USBs. Meaning, you can easily plug them into a power bank in the event of a power outage. They are also very quiet.
Heater
What is the purpose of a heater?
The purpose of aquarium heaters is to increase and maintain the temperature of the water. Most fish in the hobby come from topical climates and require water temperatures that are warmer than standard room temperature.
The temperature depends on the species of fish, but generally falls between 75-80 degrees Farenheit.
What heater should I get based on my tank size?
You should buy a heater based on the size of your tank. We have a 100W heater for our 20-gallon and a 50W for our 10-gallon. The correct wattage will ensure the heater has enough power to heat your water volume.
| Tank volume | Heater wattage |
| 5-gallons | 25 watts |
| 10-gallons | 50 watts |
| 15-gallons | 75 watts |
| 20-gallons | 100 watts |
| 30-gallons | 150 watts |
| 50-gallons | 250 watts |
| 75-gallons | 375 watts |

Lighting
Why is lighting important for a planted tank?
Live aquarium plants absorb light energy and use it to produce food for itself. Without light, your plants will not grow. But too much light will cause algae blooms to occur.
Look for a PAR rating of above 50 for your substrate depth
Photosynthetically active radiation (PAR) is a figure that measure how many light photons are hitting every square inch. This is probably the most important metric to know for plant growth.
The PAR rating will decrease the further away from the light source you are. What you want to look for are lighting systems that provide at least 50 PAR at your substrate depth.
For example, if you have a 16-inch tall tank and 3-inches of substrate and your light sits at about 1-inch above the water surface, then the will be 14-inches between your light and the top of your substrate.
So you want a light that provides at least 50 PAR at 14-inches.
For example, this HICREW light has 70 PAR at 12-inches, which is about right:

Truthfully, we only run this HICREW light at 20%-40% intensity, so you can easily get away with a lower-intensity light than you might think.
Lighting that comes with kit aquariums is usually not bright enough, so we recommend upgrading from that. But you don’t need to buy a $300 Fluval 3.0 unless you plant of creating a high-tech aquarium with CO2 injection, which is out of scope for this guide.
Hardscape
What is hardscape?
Hardscape refers to the rocks, driftwood or other decoration features in your tank. This is completely up to your persoanl preference.
Do I need hardscape in my dirted tank?
Hardscape is not required but is a nice aesthetic addition.
Plants
Do I need to add live plants to my dirted aquarium?
You don’t need to add plants to your dirted aquarium but the main purpose for using dirt substrate is to benefit plant growth.
How many plants should I add to my dirted tank?
We recommend adding ad many plants as possible to your tank. There is really no uppoer limit to how many plants your tank can have. Plants provide oxygen to the water, consume broken down waste from the substrate and will even absorb and use ammonia and nitrite.
It’s especially beneficial to add many plants at the beginning to minimize algae blooms and to protect against possible ammonia spikes.
Note: We recommend establishing a nitrogen cycle in your dirted tank before adding fish.
What types of plants should I buy for my dirted tank?
The types of plants you choose for your dirted tank will depend mostly on whether or not you choose to add CO2 injection This would make your tank “high tech” and would allow you to grow more demanding plant species.
We choose to run low-tech tanks without CO2. For these tanks you can still grow a huge variety of plants. Root-feeding plants, such as amazon swords and crypts, will appreciate the nutrient-rich dirt especially.
The best (and one of the funnest!) thing to do is experiment growing different plant species to see what you like and what grows well in your tank.
We have found that some species, such as rotala rotundafolia, don’t tend to grow well in our water. While other people suggest that it’s a low-demanding plant that thrives in low-tech environments.
Some of our favorite low-tech plants include:
- Limnophila sessiliflora;
- Hygrophila polysperma;
- Hygrophila corymbosa;
- Staurogyne repens; and
- Sagitteria dwarf grass.
What types of plants should I avoid for my dirted tank?
Dirted tanks are most often used inlow-tech setups. If this is true for you too then you should avoid plants that require high intensity lighting and high CO2.
These include, but are not limited to, the following:
- Dwarf baby tears;
- Monte carlo; and
- Rotala macrandra.
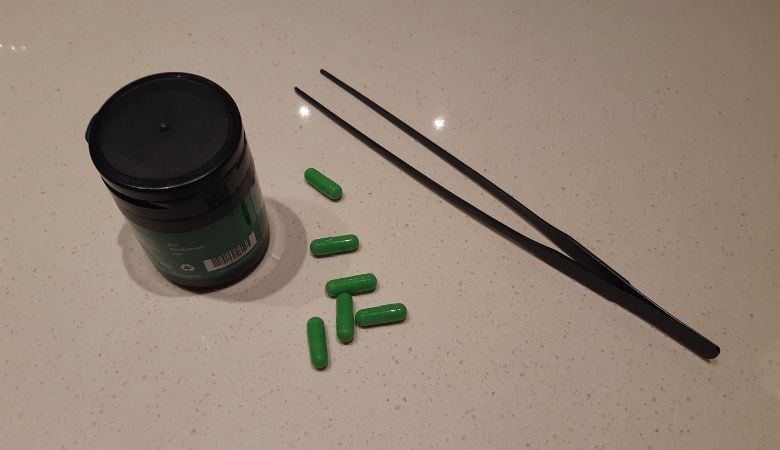
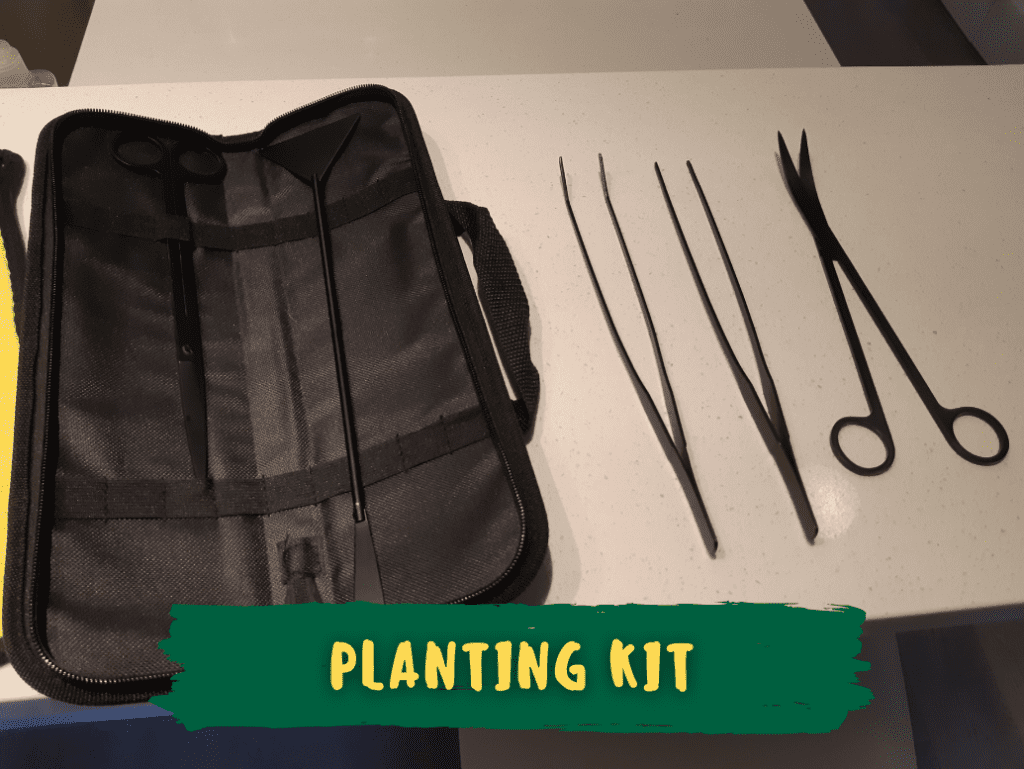
What other equipment do I need for planting?
You don’t necessarily need additional equipment. But it’s useful to have some kind of tweezers or tongs to plant your plants. A pair of aquarium scissors is also useful when you trim and propogate plants later on in the future.
You can buy sets of planting tweezers, scissors and scrapers for a reasonable price on Amazon.
Water parameter testing
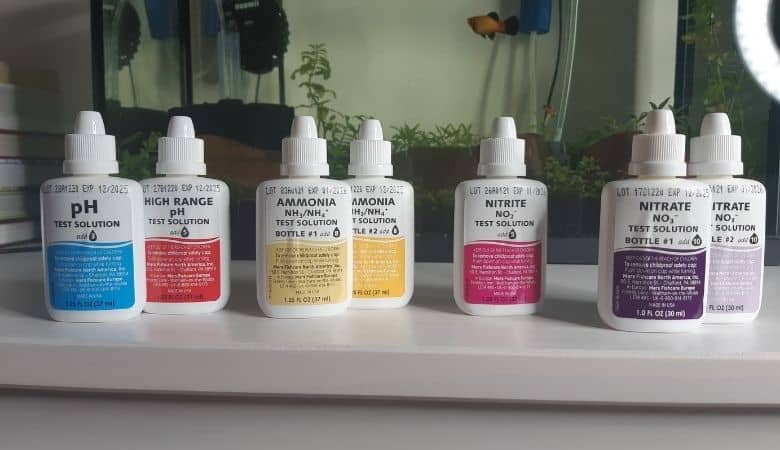
Why do fishkeepers test their water parameters?
Fishkeepers test their water parameters to make sure the water is still safe for fish. There are many parameters you can test, but the main tests are for ammonia, nitrite, nitrate and pH.
How do you test your water parameters?
The most common methods for testing these water parameters is by using a liquid API Master Test Kit or test strips.
How to setup your dirted tank
Now it’s time to start setting up your dirted tank! Here’s how:
Prepare your soil in a 5-gallon bucket
Start by measuring out your soil in a 5-gallon bucket. We recommend a 1-inch lyer of soil with a 2-inch cap. Measure the length and width of your aquarium. Ours is 24-inches long by 12-inches wide.
This means we need 288 cubic inches of soil. This ended up being only about a third of a medium-sized bag of dirt.
We added the soil into a 5-gallon bucket we bought from The Home Depot. We then removed any large sticks or bark in the soil.
In a separate bucket we added some tap water and a few mililiters of Seachem Priume dechlorinator. We then added small amounts of water to the dirt bucket, mixing it together.
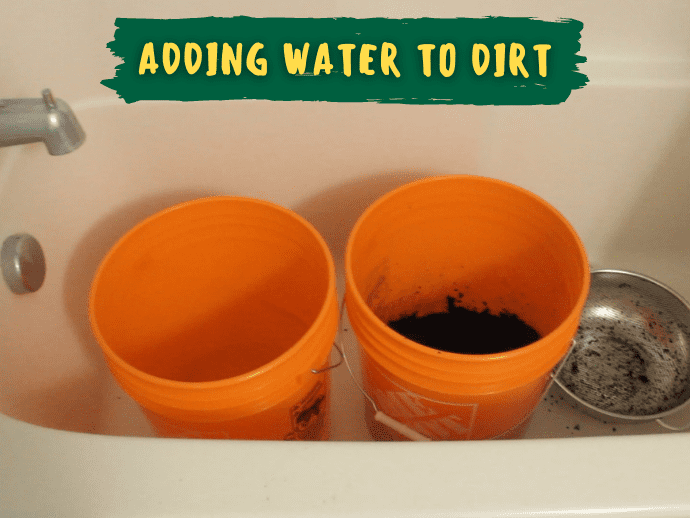
The goal is to create a moist mud consistency. We don’t want the dirt to be so wet that it’s soupy. if you add too much water then you can remove some of the dirt using a fish net and squeeze it out over your tub or sink. This will remove some of the water. Repeat until you had a mud consistency.
We then let the dirt sit for a couple hours.
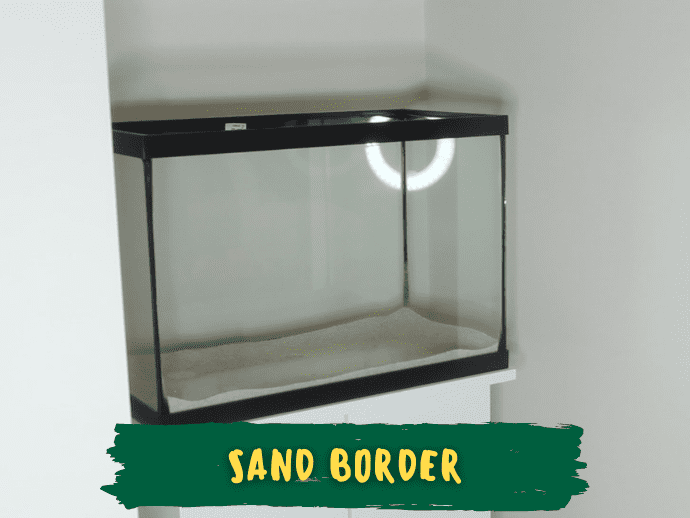
Add a perimeter of capping substrate on the bottom of your tank
Meanwhile, we setup our 20-gallon tank on an aquarium stand.
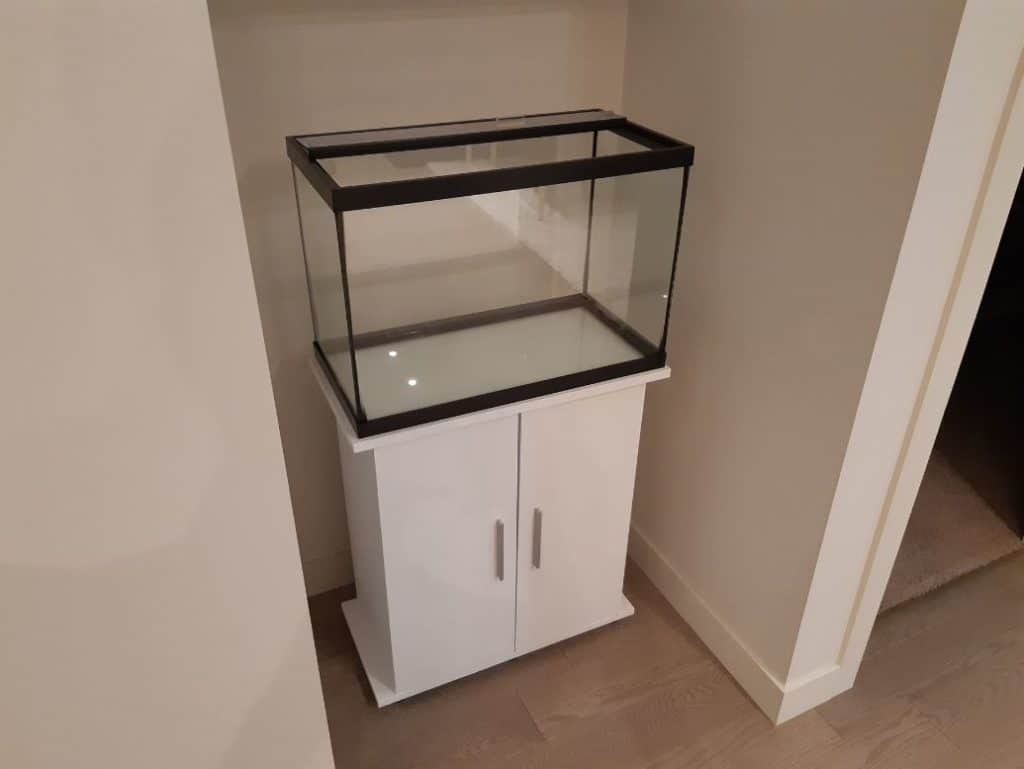
We then added a perimeter of sand around the edges of the tank’s bottom. The purpose of this is to keep the dirt away from the edges of the tank.
We felt the dirt would have a better chance at leeching into the water column in the gap against the glass. So we contained the dirt to the center of the tank.
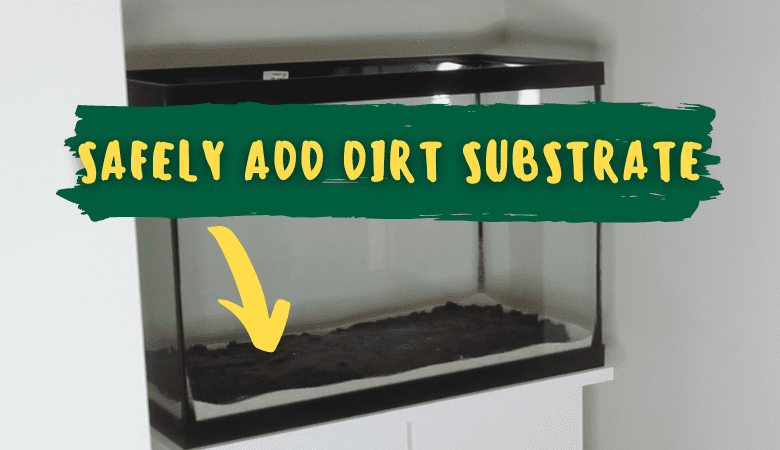
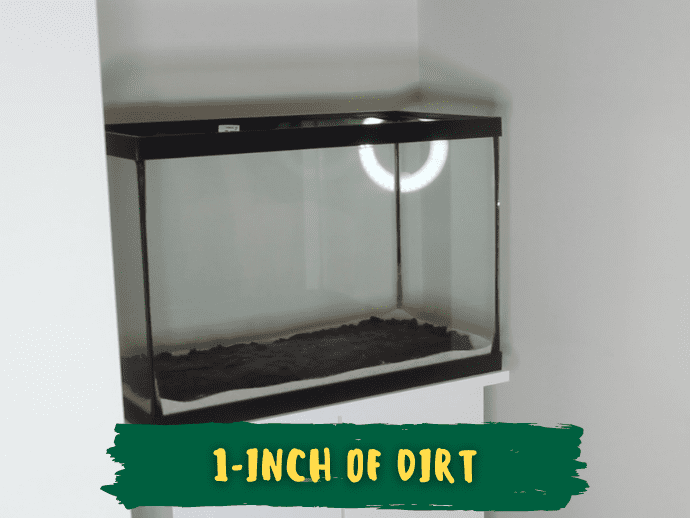
Add 1-inch of prepared soil to your tank
We then added 1-inch of dirt to the middle of the tank, inside the sand perimeter.
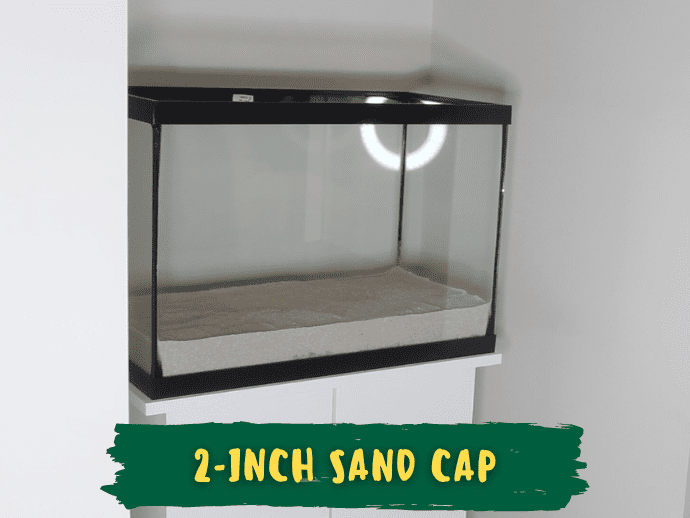
Cover your soil with 2-inches of capping substrate
We then covered the dirt with a 2-inch layer of sand, or gravel if you’re using that instead.
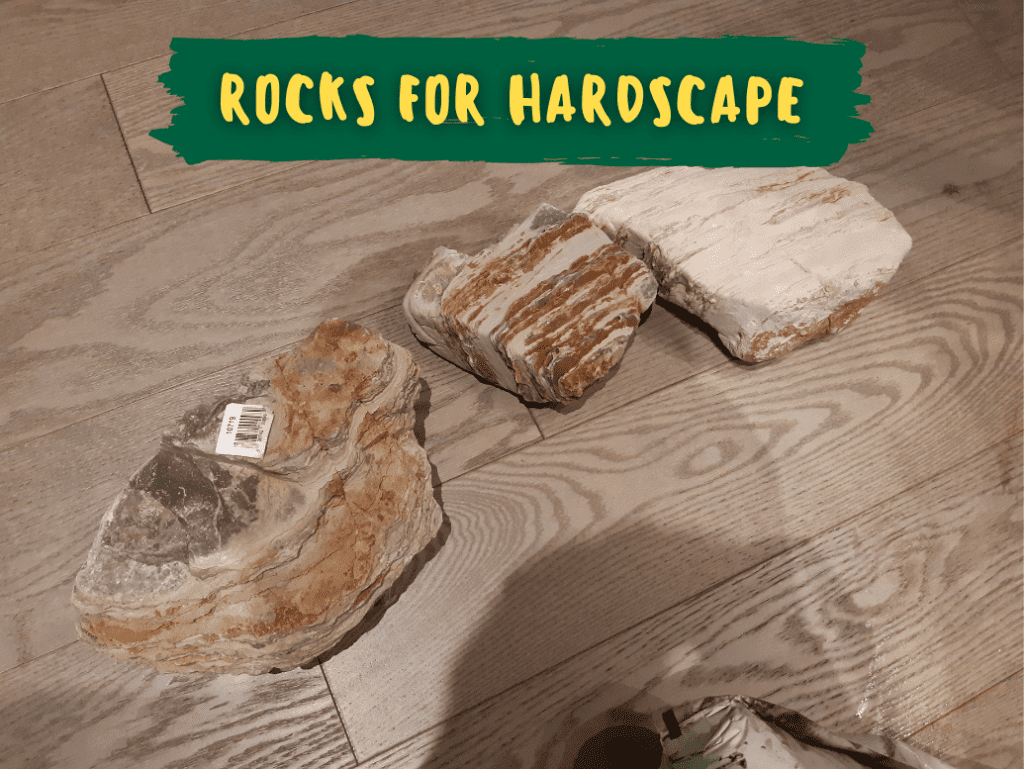
Add your hardscape
We then added our rock hardscape feature.
Fill your tank with dechlorinated water
We then filled the remainder of our tank with dechlorinated tap water. To do this we simply filled the 5-gallon buckets with water and added a few mililiters of Seachem Prime.
Be careful adding water into the tank because we don’t want to disturb the substrate. Dumping the water directly into the tank will create a crator and may cause the dirt to escape into the water column, creating a cloudy mess.
What we do is balance a strainer or collander on top of the tank and pour water through that. The collander will take most of the impact and will prevent a crator.
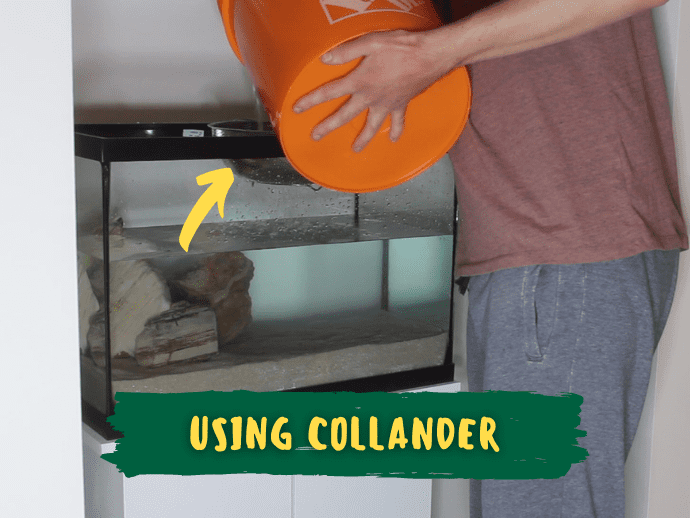
You can also put a plate or plastic bag on top of the substrate and pour onto that instead.
A 5-gallon bucket of water may be too heavy for you to lift and pour. So you can take a clean tupperware container and scoop the water from the 5-gallon bucket in the tank instead.
Position your sponge filter and heater
We can now position our heater and sponge filter in the tank. We like putting these in before the plants because you may choose to hide them behind your hardscape on in corners where plants will grow in front of them.
Prepare your plants
We like sanitizing plants we buy to get rid of any possible algae or pests. To do this we remove them from their rock wool, filter floss or other container.
We when place them in a container with 1 part bleach and 20 parts water. We let them sit for about 90-seconds before removing, rinsing gently under the tap and then placing in another container with dechlorinated water.
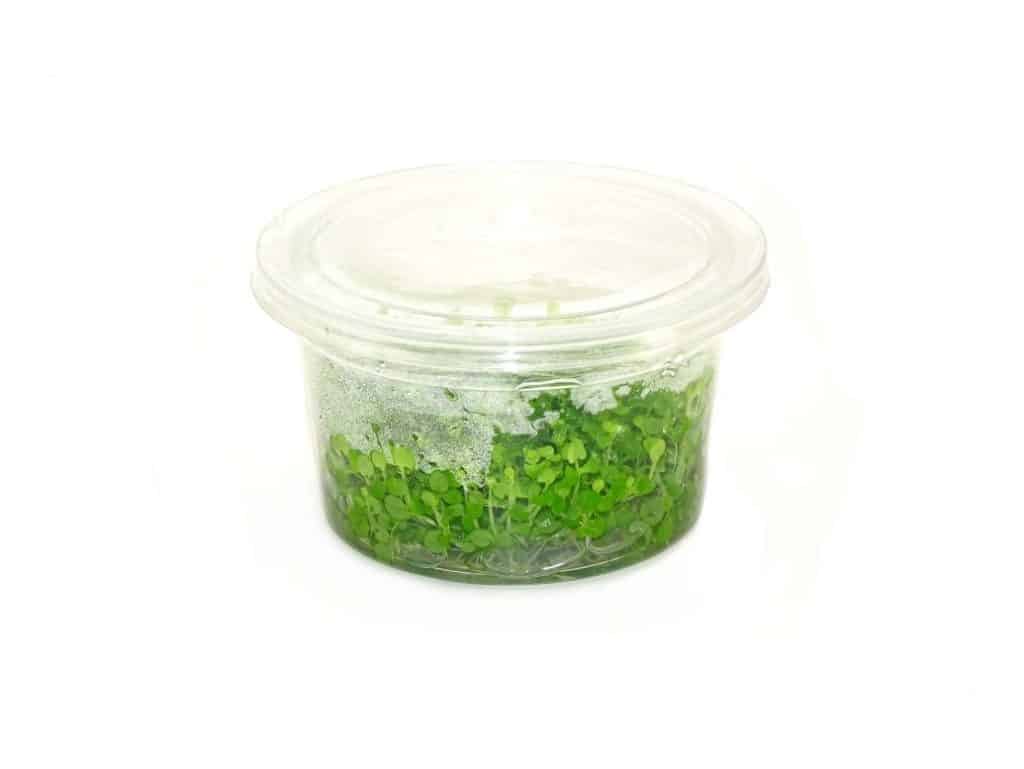
Bleaching is not necessary if you are buy in-vitro plants, also known as tissue culture plants, because they are grown in sterile environments with no pests.
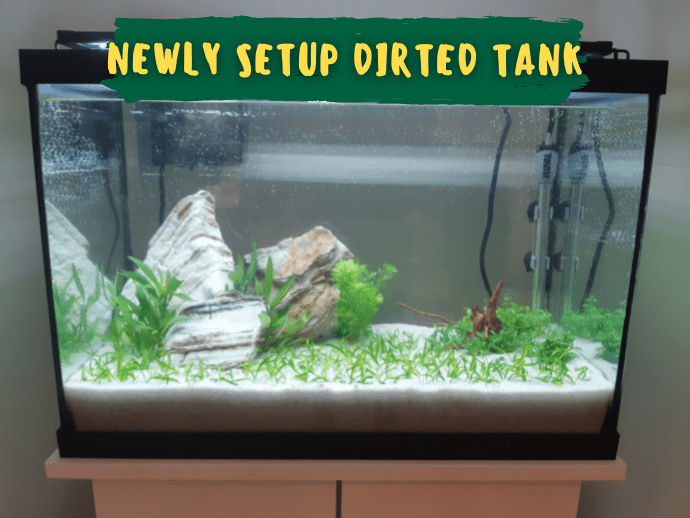
Plant your plants
You can then use your planting tweezers to plant your plants wherever you desire. Here’s how our tank looked on day 1:
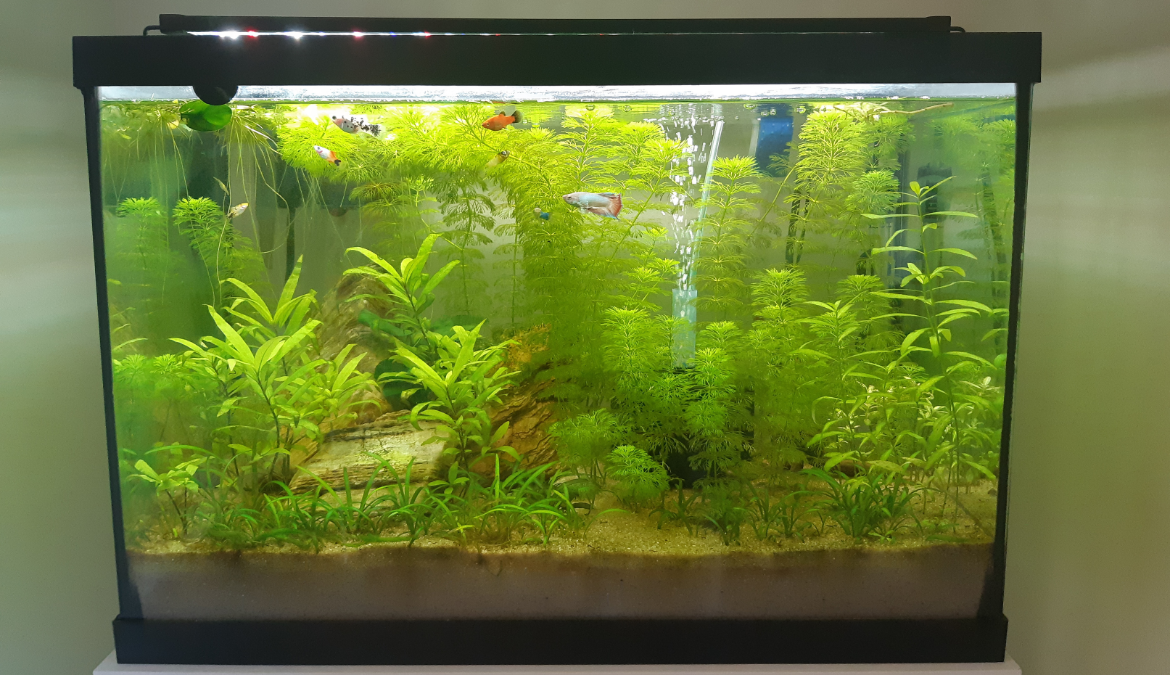
And here’s our tank after about two months:
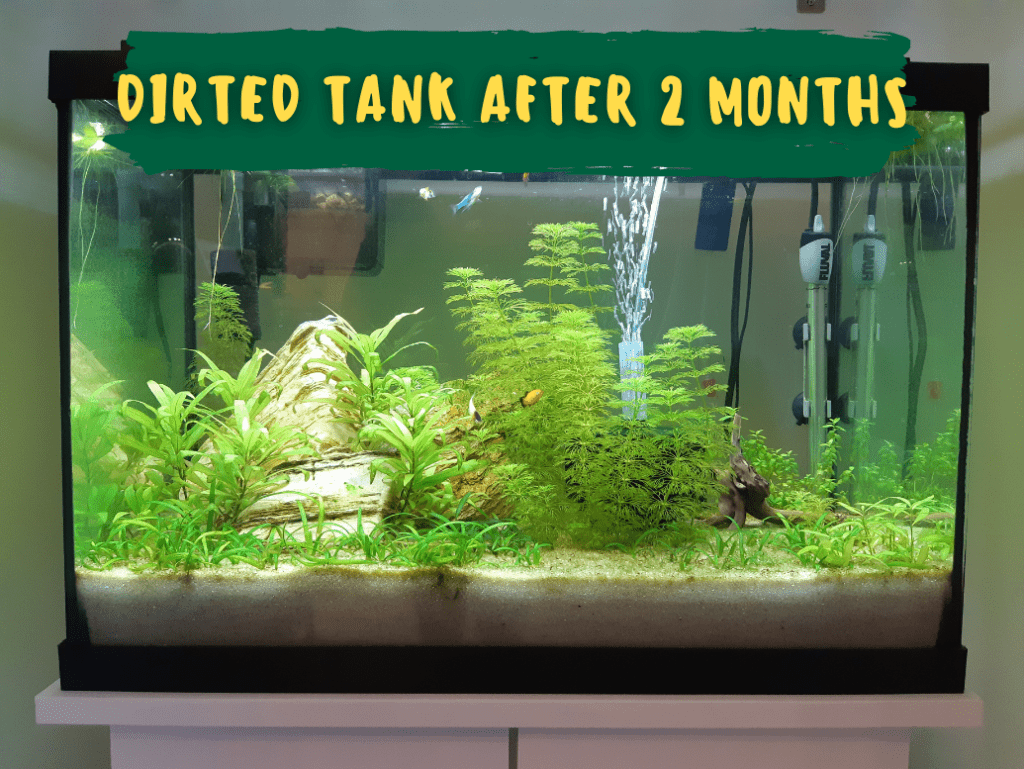
In case you’re wondering, those are the limnophila sessiliflora in the middle that are growing like mad.